The Brightside - A Tiny Craft Project for Slow Afternoons

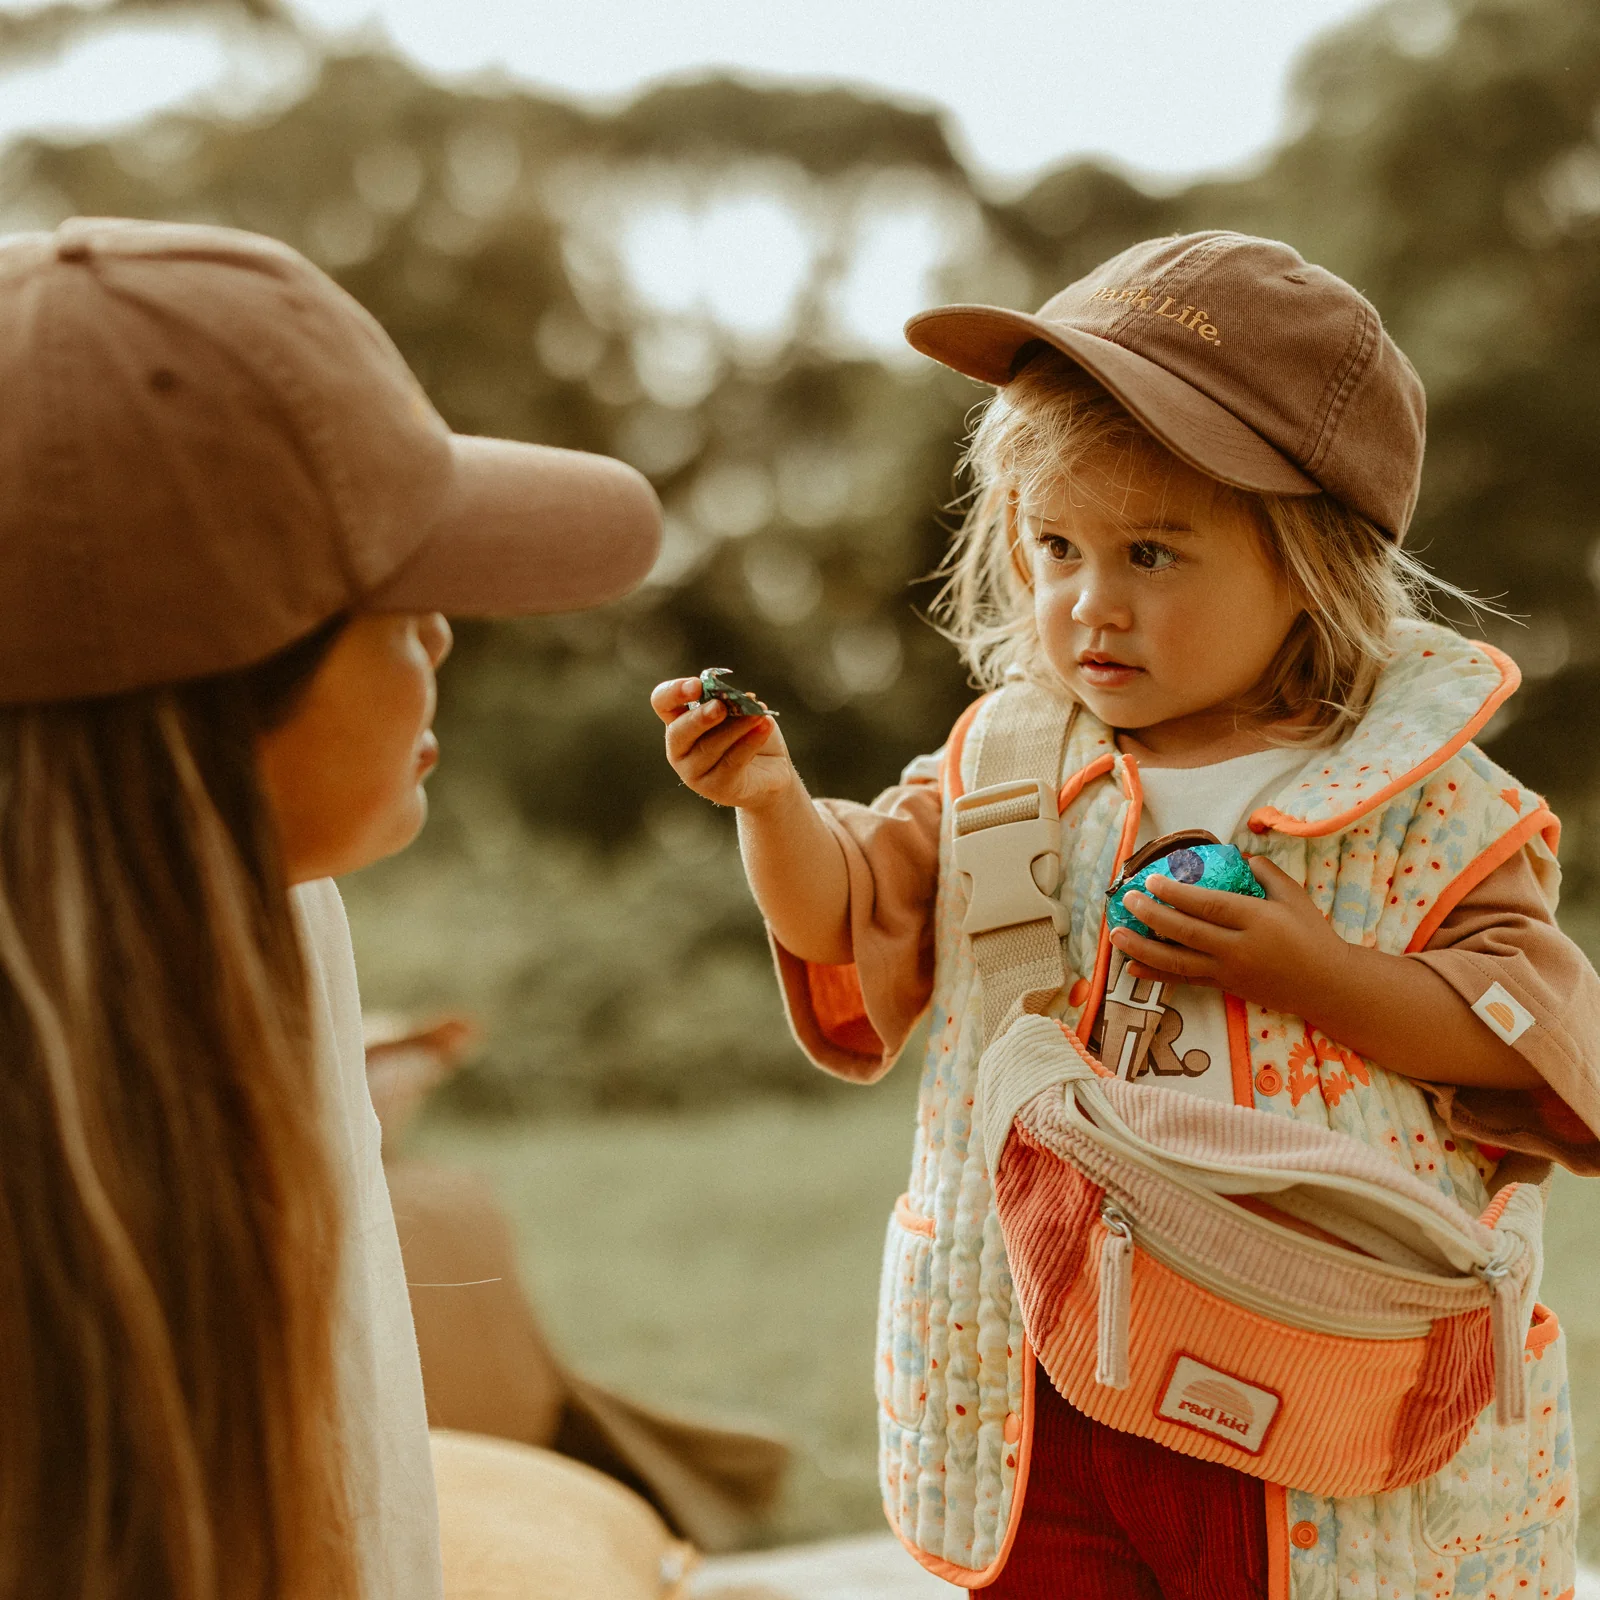
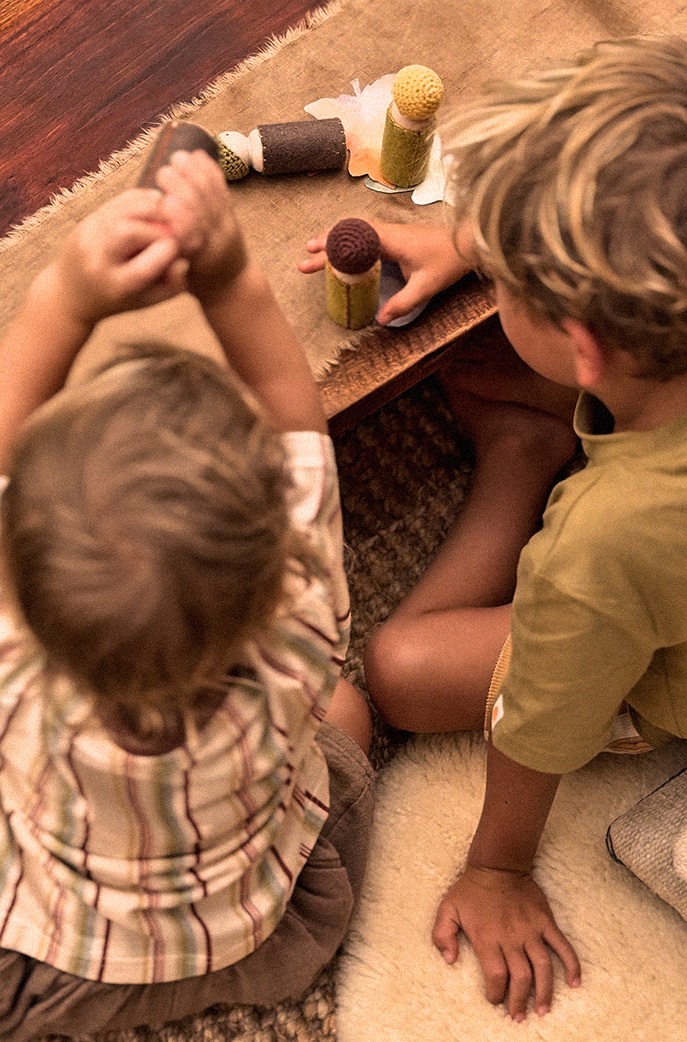
There’s something special about toys made slowly, by hand. The kind that end up tucked into pockets, carried on car rides, and pulled out again years later from the bottom of a memory box.
These sweet little felt dolls by artist and maker Ayana Ryan are exactly that kind of treasure. Simple to make, endlessly customisable and small enough to craft alongside your kids, they’re the perfect rainy-day project or thoughtful handmade gift.
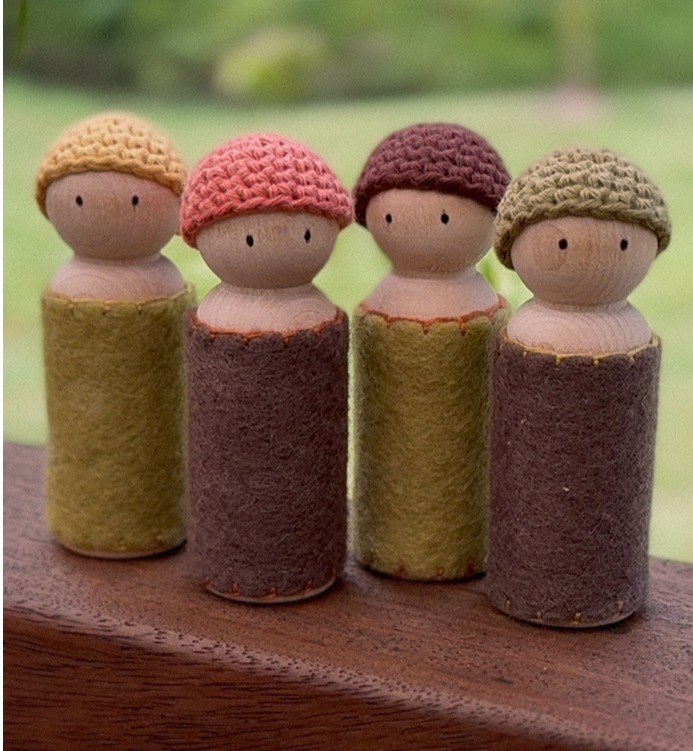
With just a few materials — felt, wooden dolls and a tiny crocheted beanie — you can create a whole little crew of pocket-sized characters. Make one that looks like your rad kid, your family pet,
or an imaginary woodland friend.
Craft projects like this are a beautiful reminder that kids don’t need complicated toys — just a little creativity and time spent making something together.
Pop the kettle on, clear the kitchen table and let’s make a tiny friend.
What you need
Felt, wooden dolls,
2.5mm crochet hook,
Flinders 4 Season
8 Ply cotton yarn or similar
Method
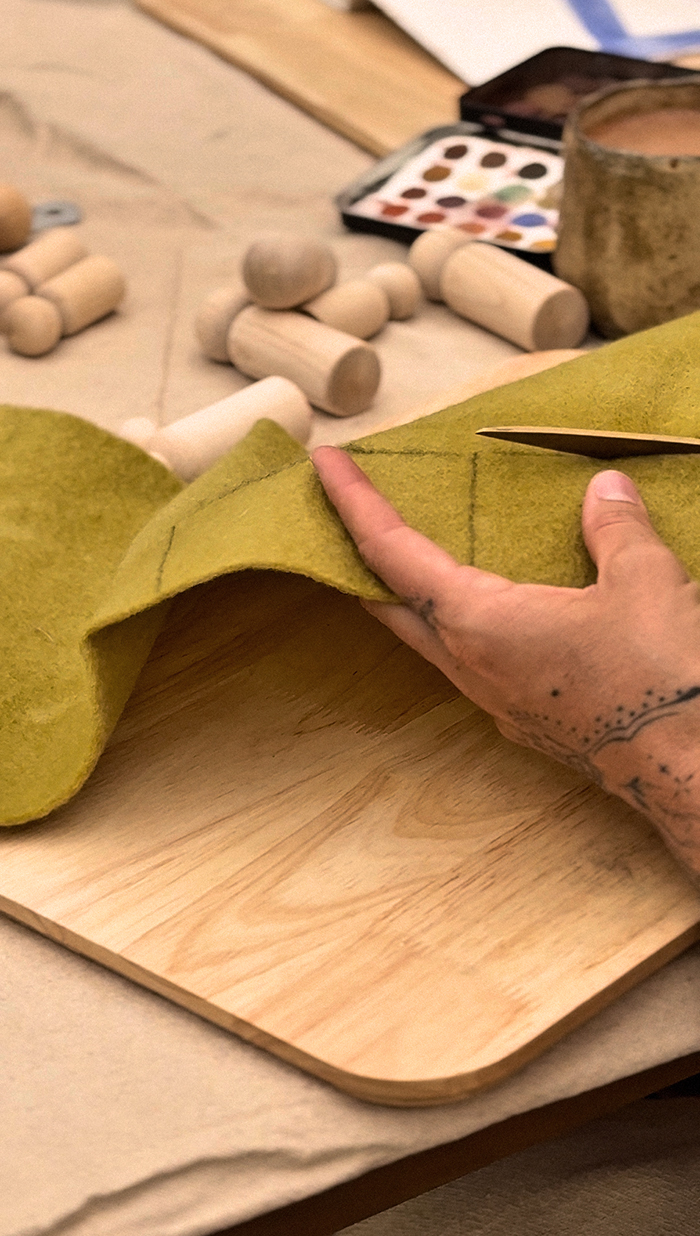
1. (below) Make a rectangle template for the felt body by tracing a 9.2 cm x 5.5 cm rectangle and cutting it out. Trace the template onto the felt and cut out the piece
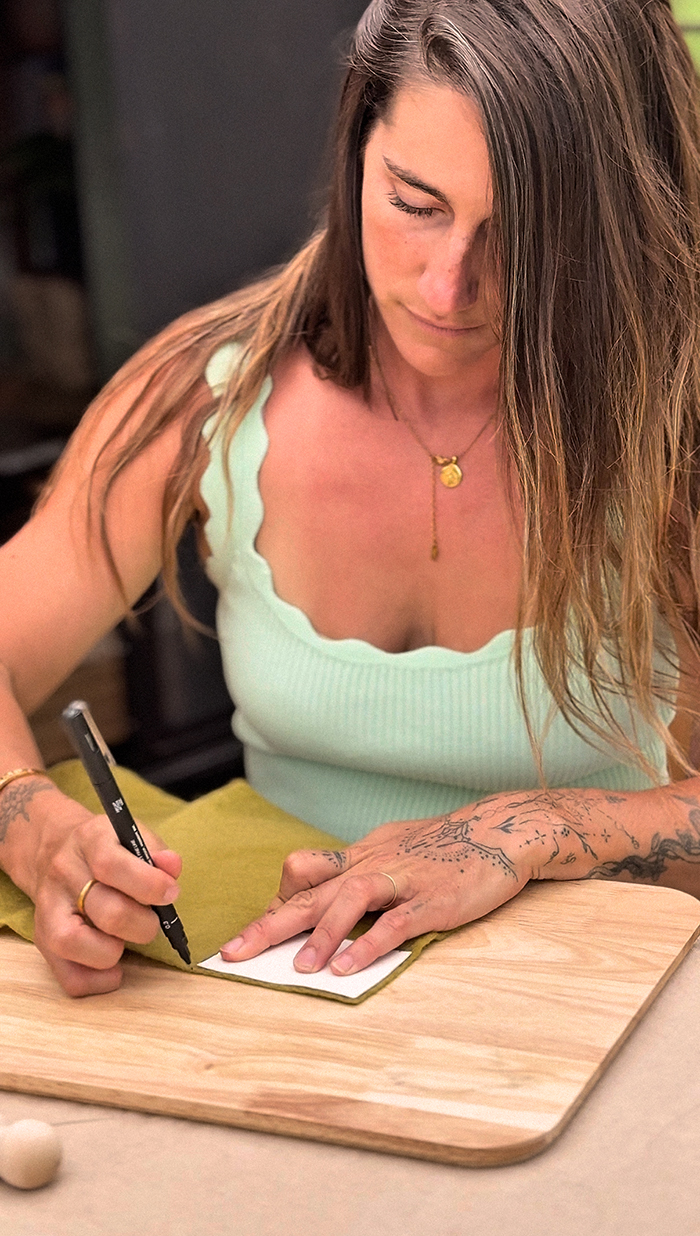
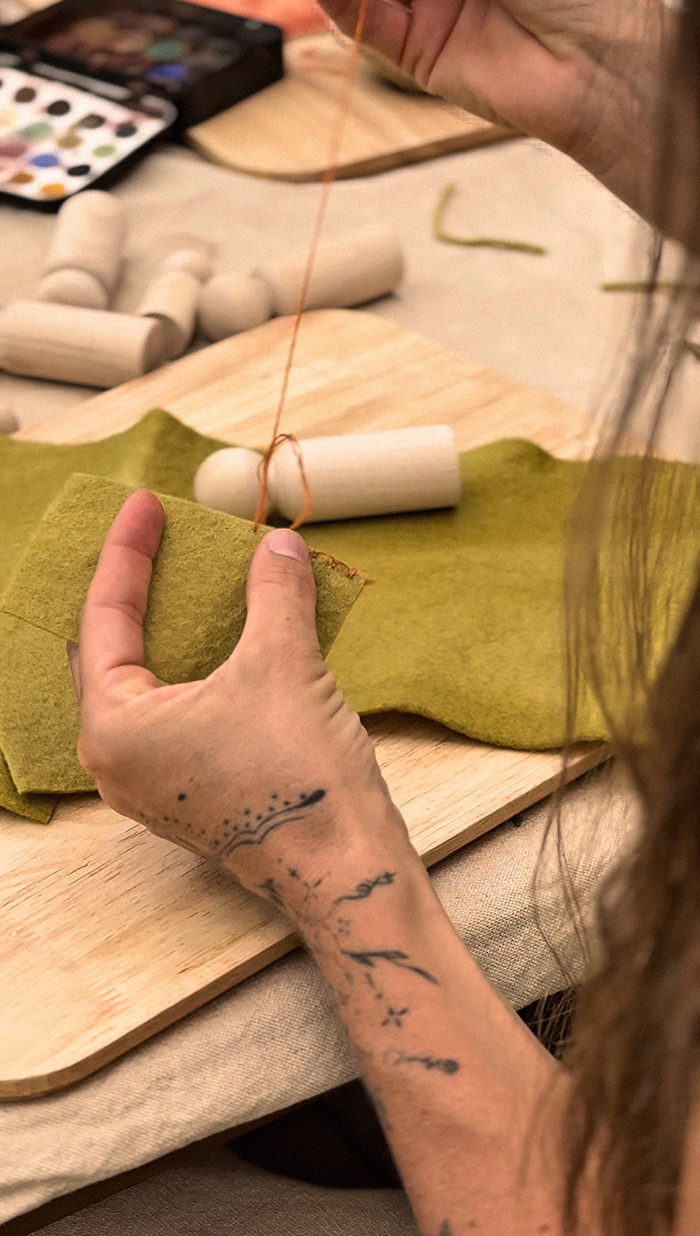
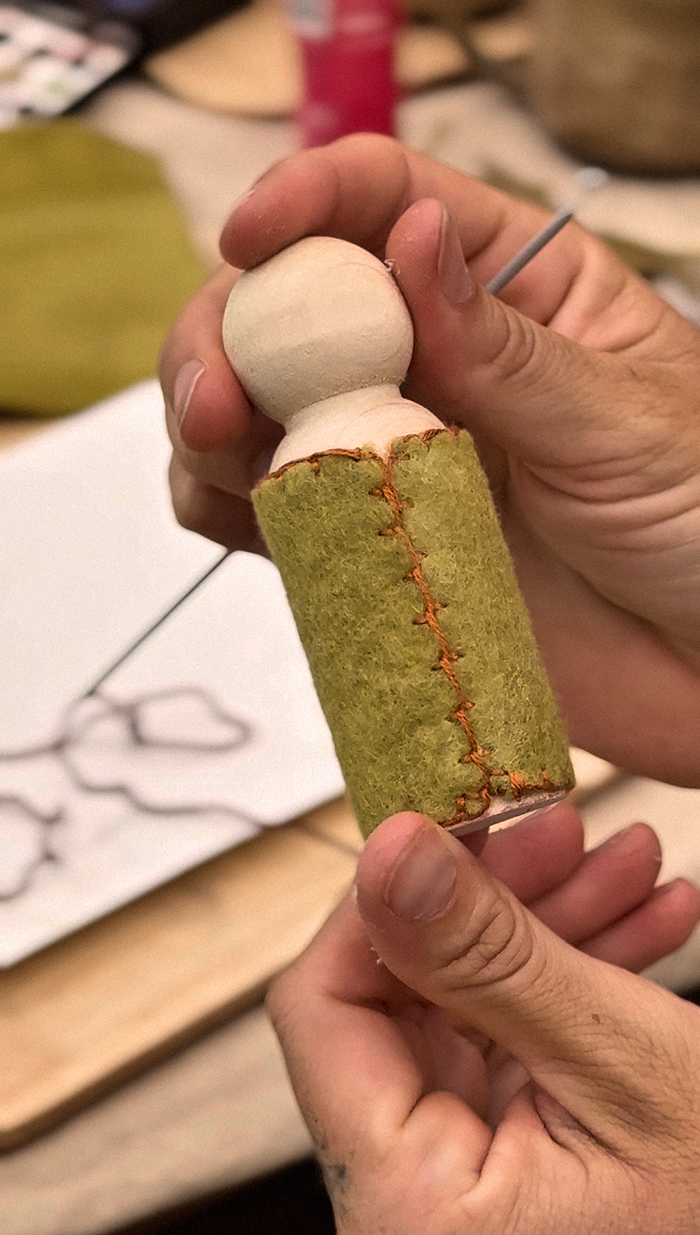
2. (below) This step is optional: do a blanket stitch all the way around to finish the felt nicely.

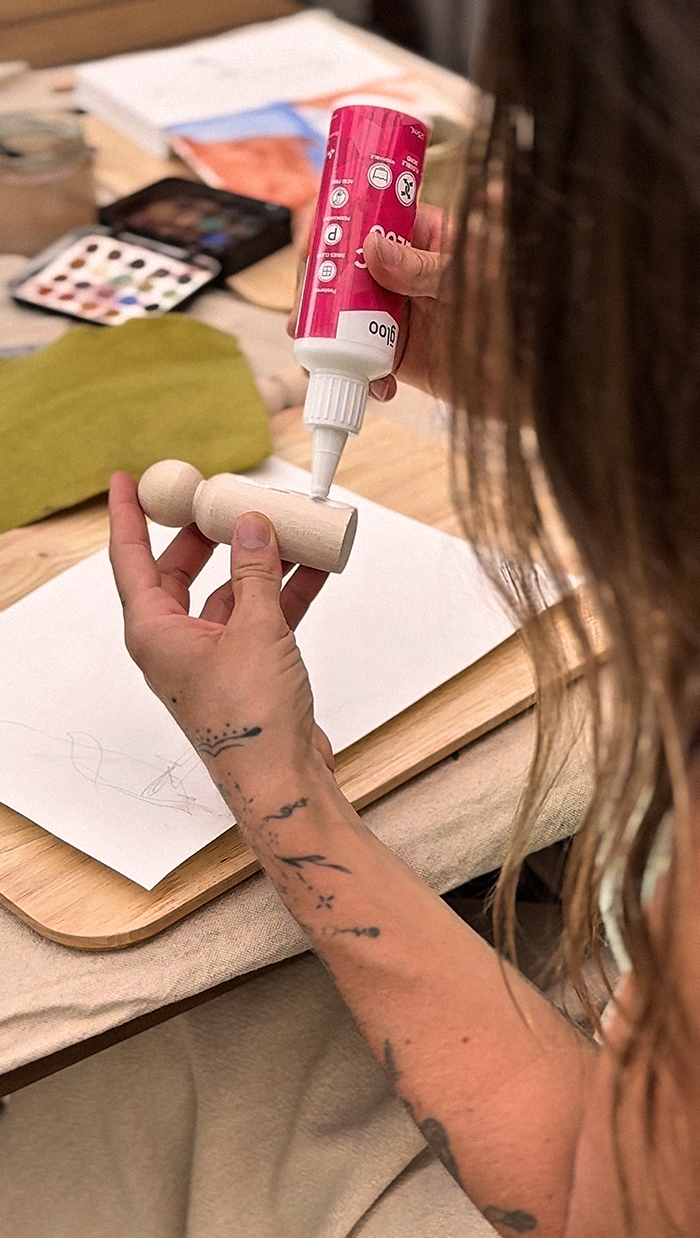
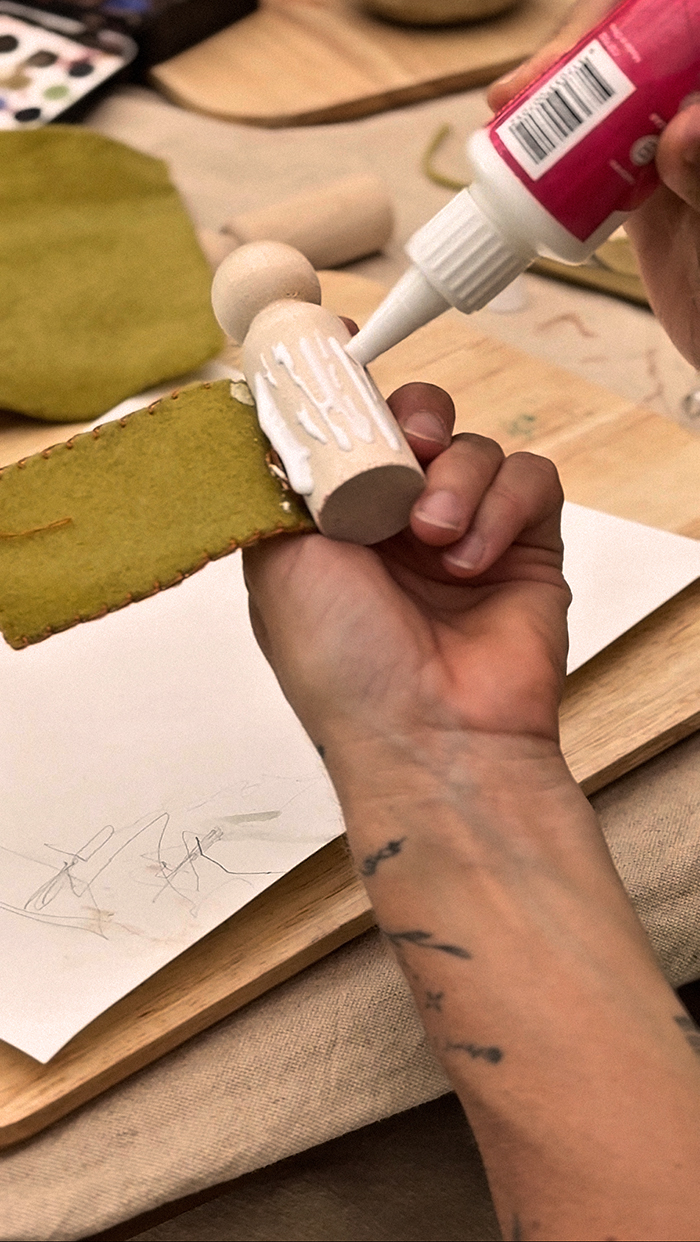
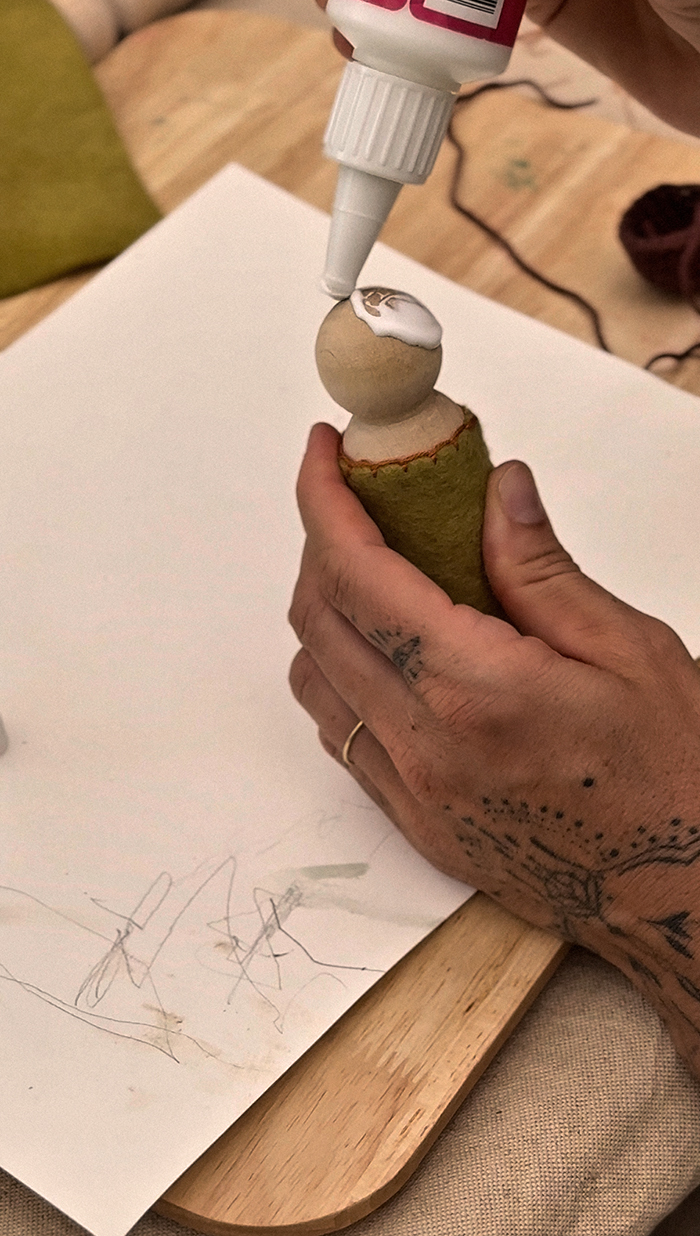
3. (below) Use some craft glue to attach the felt body to the wooden doll, starting with one side and then rolling the felt around, holding it firmly so it glues properly (the glue may slightly soak through the felt, but you won’t see it once it dries).

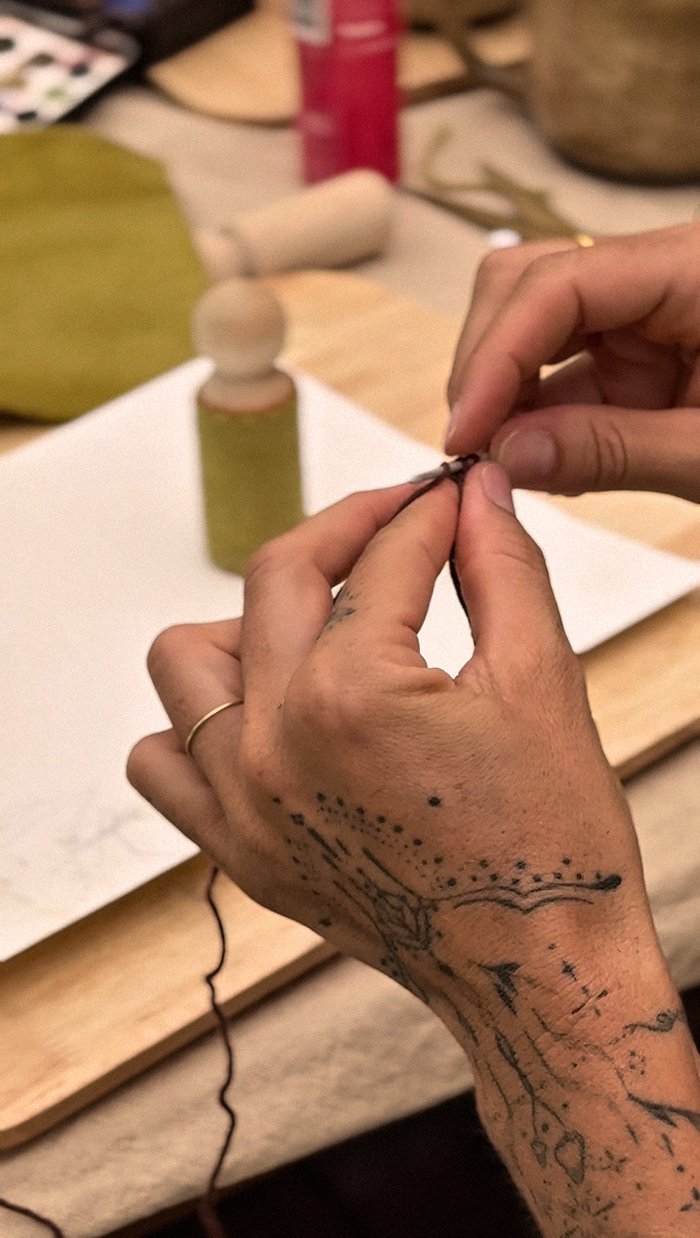
4. Time to make the crochet beanie
SC - Single Crochet
ST - Stitch
STM - Stitch Marker
INC - Increase (2 SC in one ST)
SLST - Slip Stitch
Round 1 - 5 SC into a Magic Ring, pull the ring tight (5 SC). Insert a STM into the top of the last SC or place a piece of scrap yarn in front of your hook before you make the
next SC.
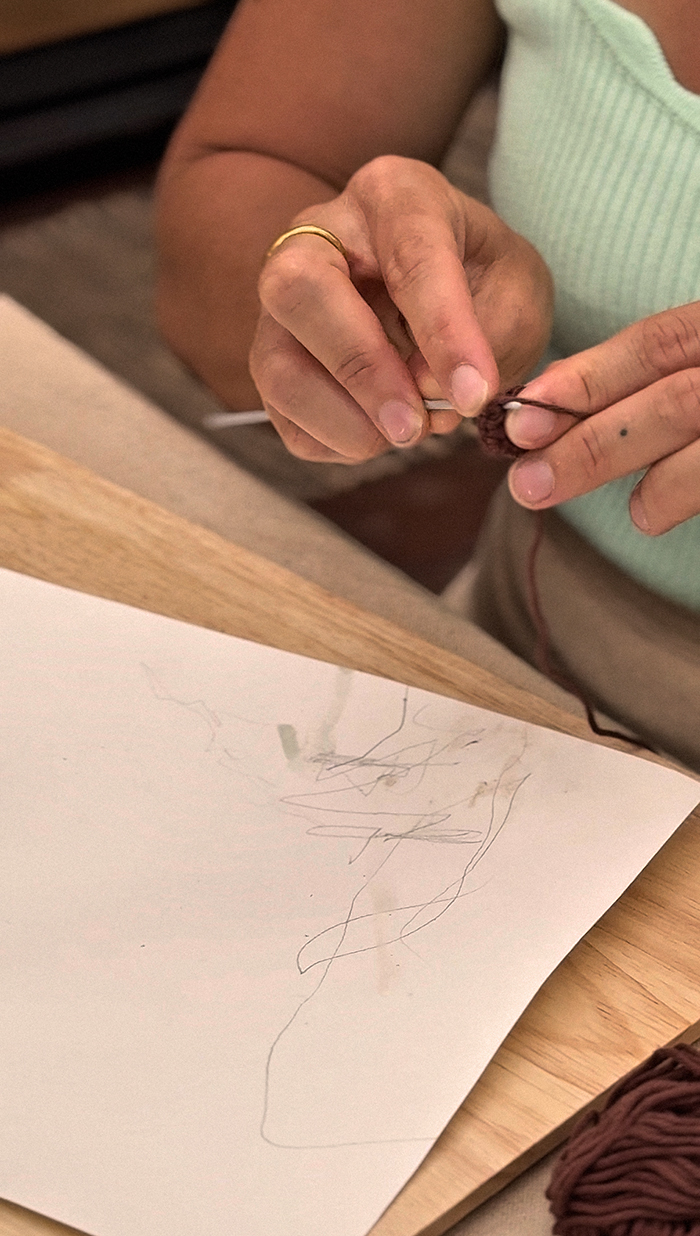
Round 2 - Without joining, continue into the next stitch: 5 INC (10 SC) (you will make the last inc into the ST with the STM
Round 3 - (INC, SC) 5 times (15 SC)
Round 4 - (2 SC, INC) 5 times (20 SC)
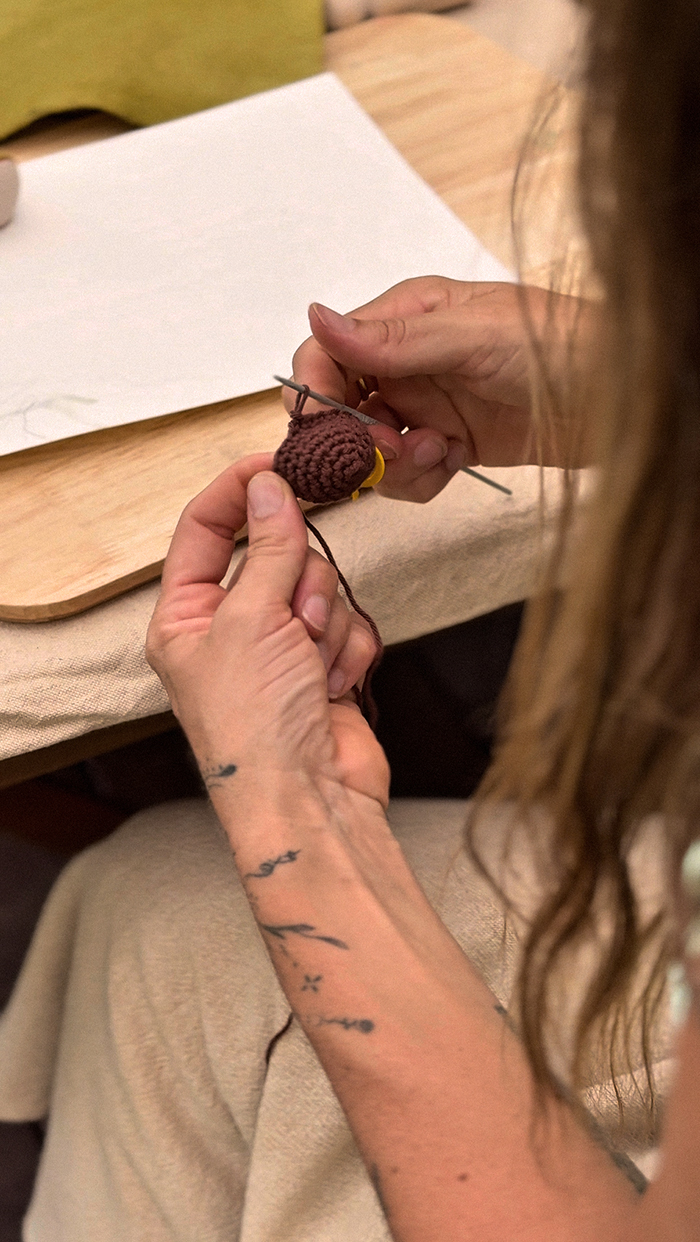
Round 5-9 - SC in each ST around (20 SC)
You can do another round if necessary or stop here, SLST into the next ST and finish with the ‘Invisible Finish’ then cut the yarn and weave both ends.
(below)
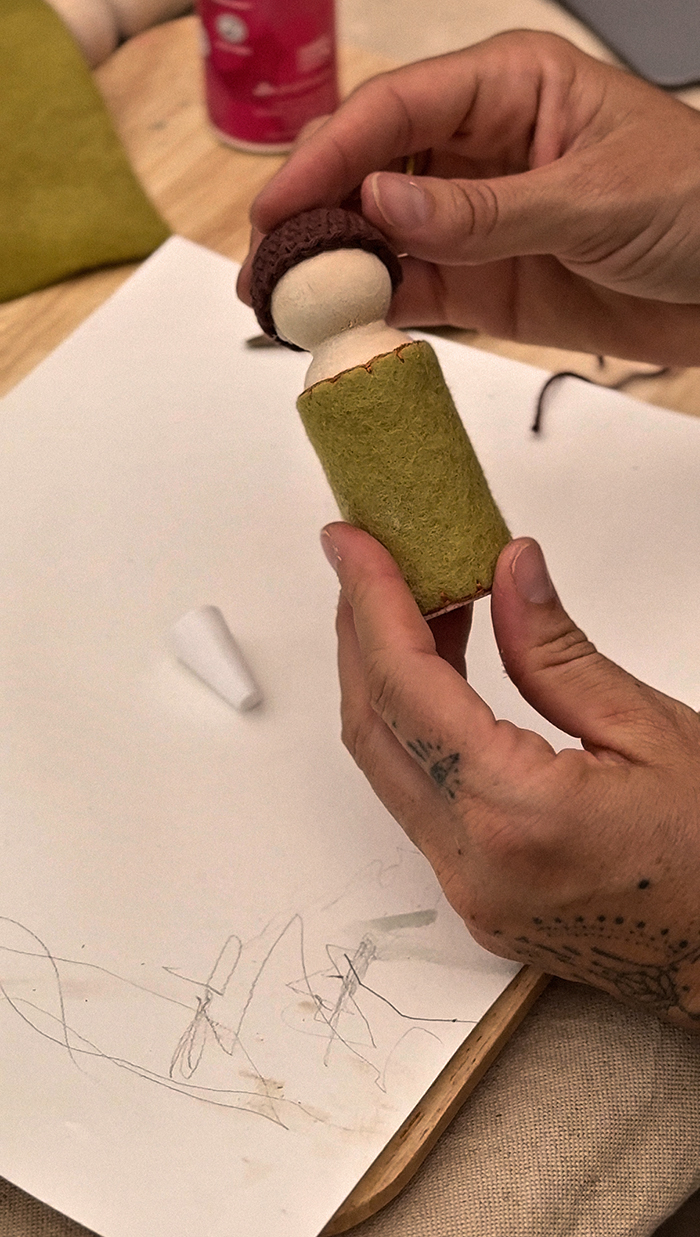
5. (below) Now you can glue your beanie onto the head, making sure the back of the beanie lines up with the back of the body.
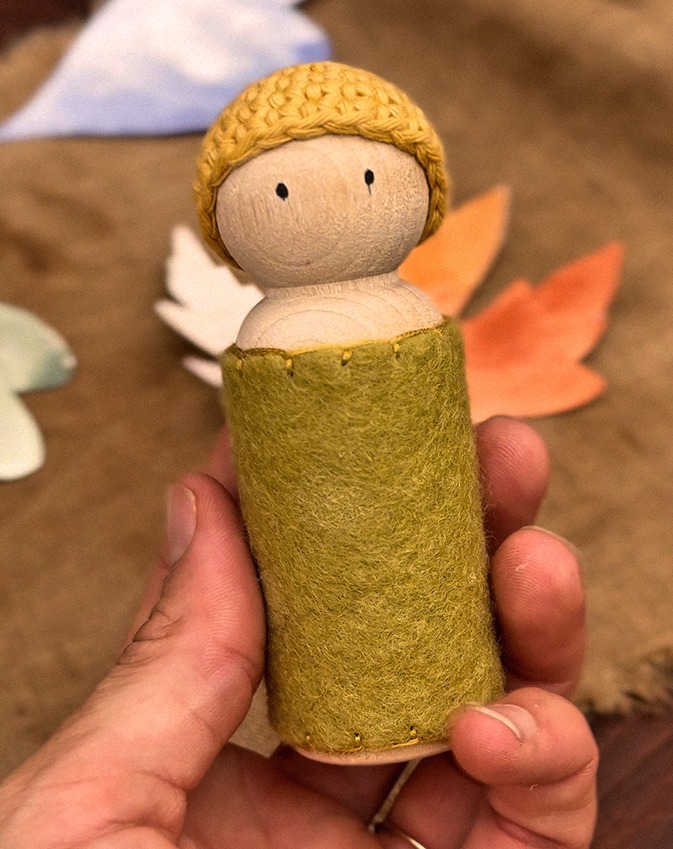
6. (below) Draw some eyes, and you’re done!
Shop now: