The Brightside: Make A Christmas Wreath With The Banabae Team & Anita From Pepe’s Garden

Last week, the Banabae team got together for our annual Christmas shindig. We ate cheese, drank Prosecco and made wreaths! We had such a rad time doing this activity and were so impressed with our wreath-making skills that we thought you should have a go too! We asked Anita from Pepe’s Garden for all her hot tips for festive wreath making.


Materials:
- Dry florals, foliage, pine cones, nuts and or other Christmas ornaments; just ensure stems have a minimum of 12-18cm of length on them.
- Twine or string cut into 30-40cm lengths.
- Pliers for cutting and trimming.


Steps:
2. Before you begin tying florals to the wreath, lay out your florals and choose how you would like them arranged on your wreath. Decide if you will go all the way around the wreath or just down the bottom like a half-moon shape.
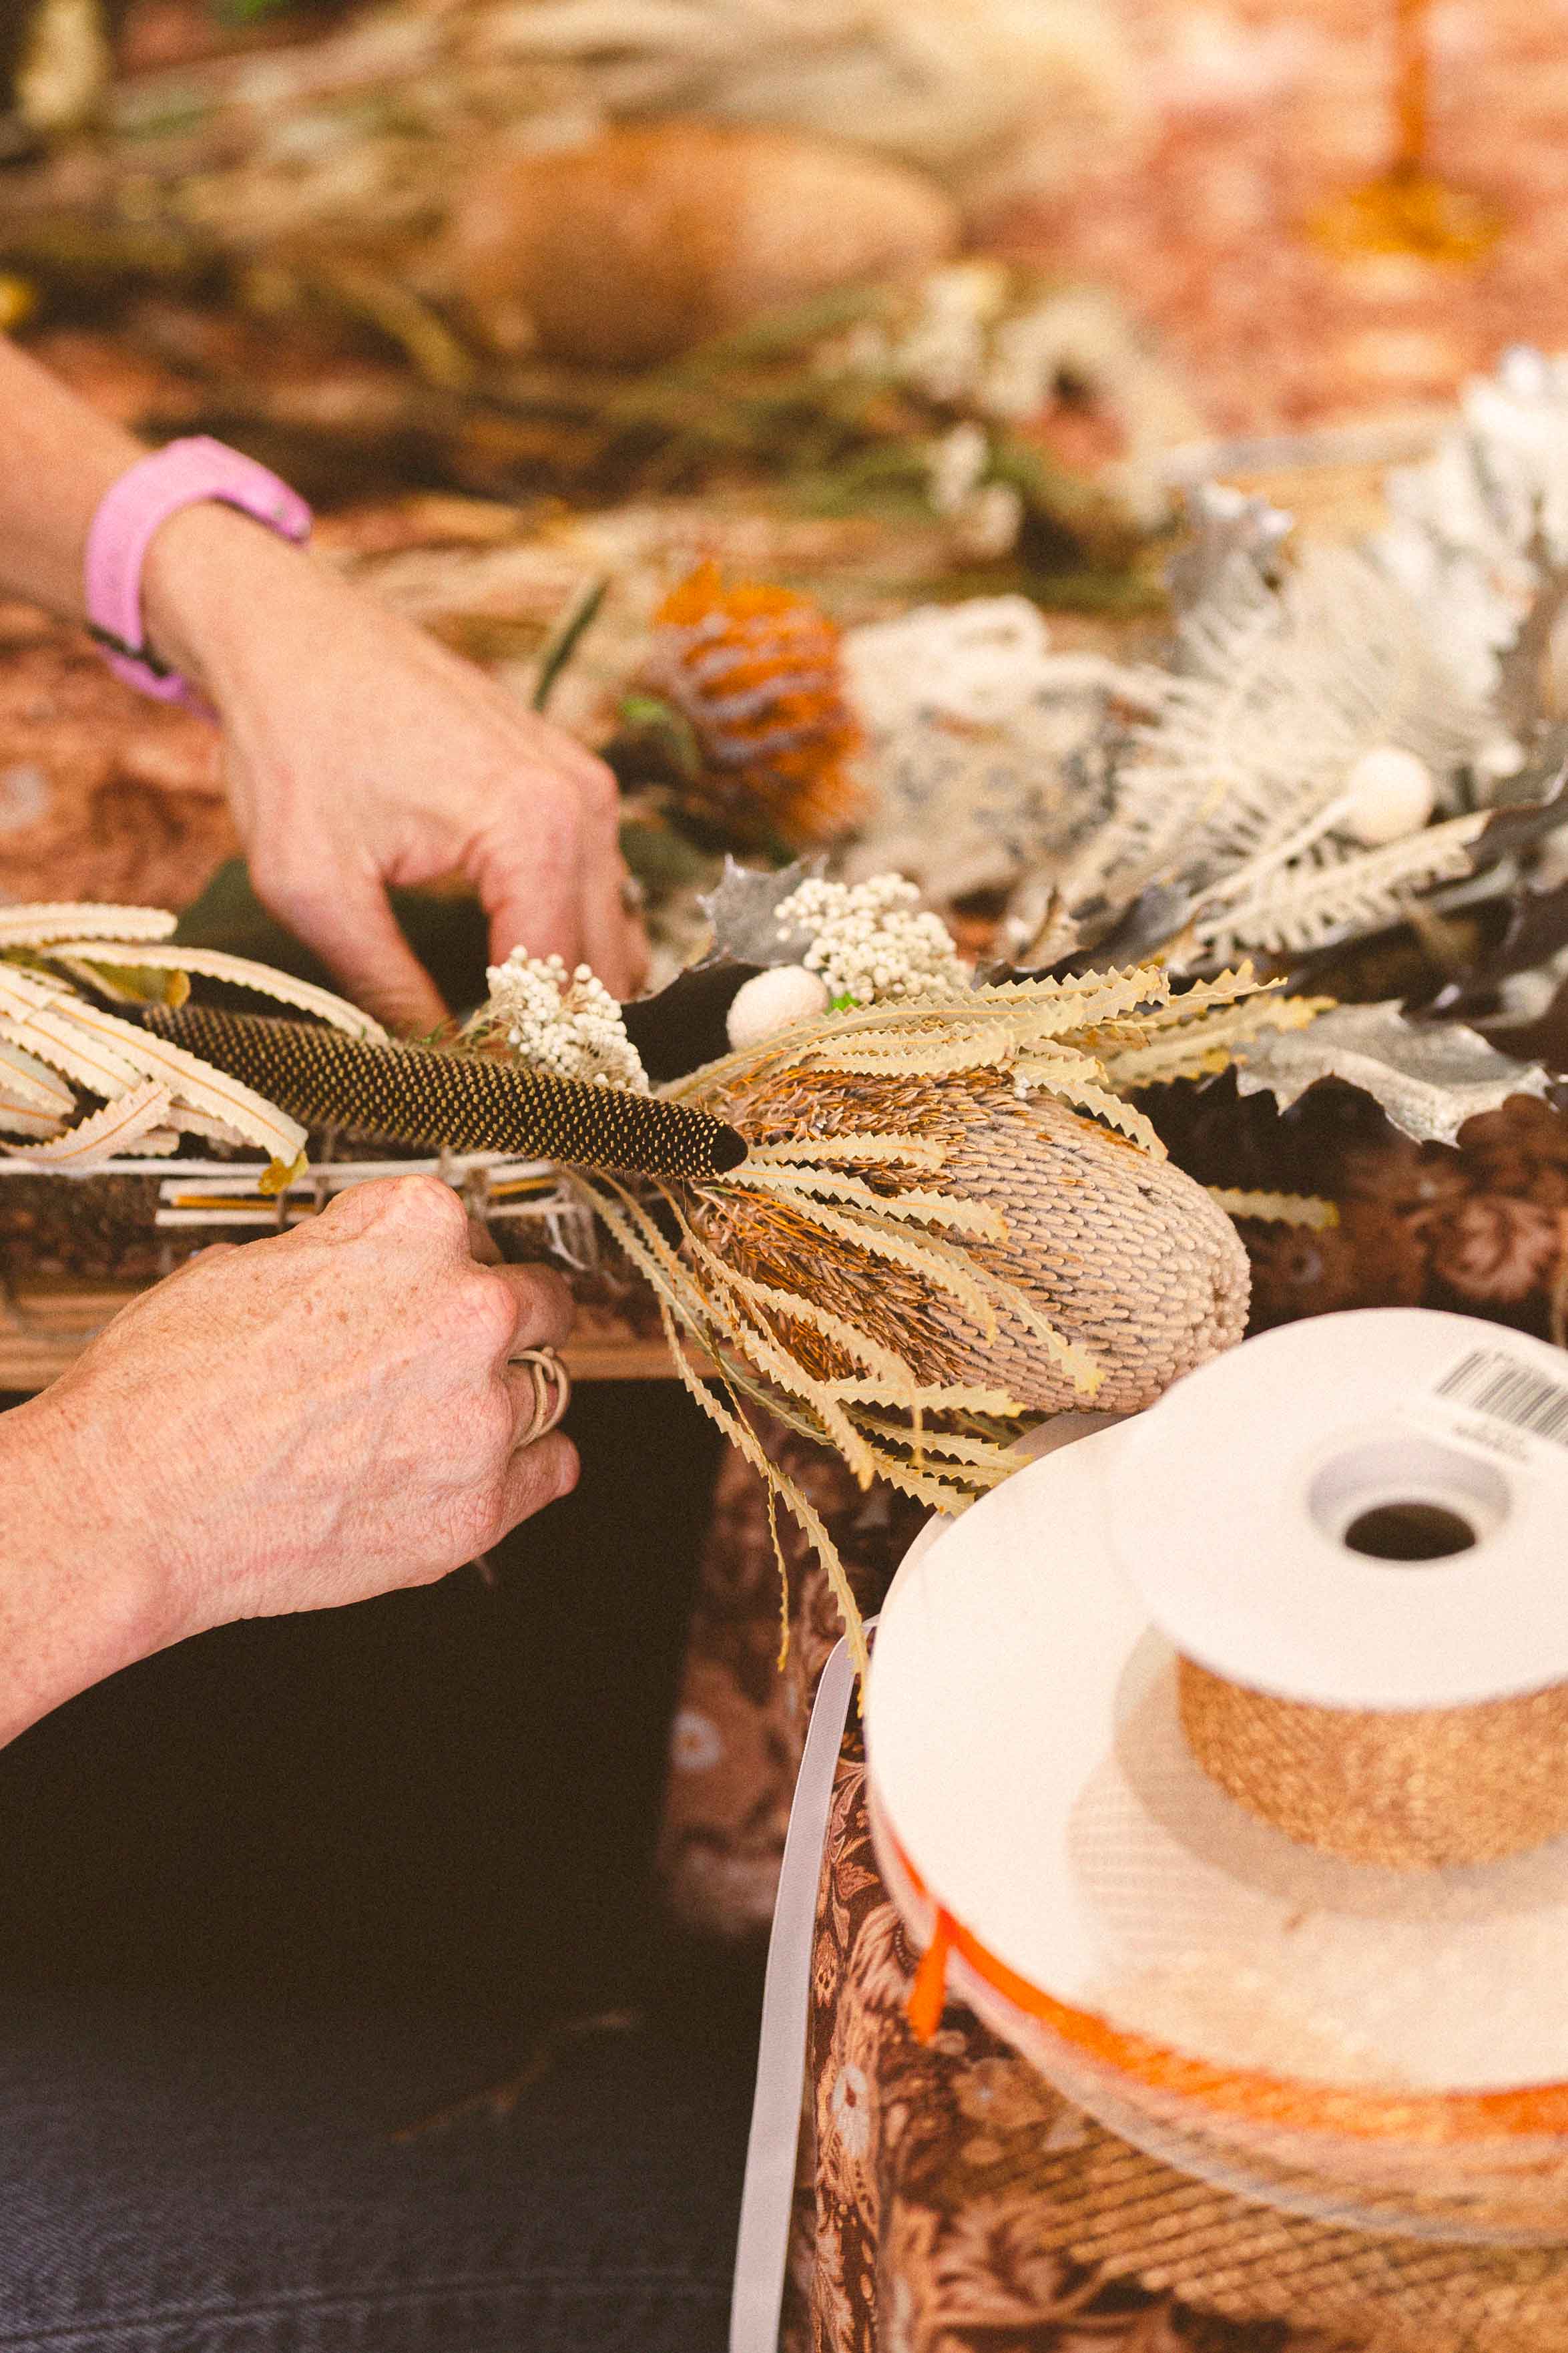
3. Lay your first piece on top of the wreath, hold it down with one hand, loop over your string twice, tie a double knot, pull it tight, and cut the loose tails off the knot to keep your work neat.


4. Repeat this step, layering the next piece over the stem of the first piece so they touch.
5. Once you have worked your way around the wreath and have used 3/4 of your floral and foliage pieces, use the same method and work backwards so that the stems start to face the same way and you’re not left with a gap.
6. Use a chunkier piece or ribbons to cover the stems. You can always slip in other bits of foliage into the ties to add volume to your wreath.


7. For extra festive flare, you can add Christmas ornaments or gold-painted dried foliage.
8. Tie a long piece of ribbon to the top of your wreath and hang it on your door or wall.
Voila!

More from the Brightside blog:
Buy more and save with our ...
CHRISTMAS TEE
PROMOTION!
- Buy 2 'Be Nice, Yule Be Right' tees, get 15% off
- Buy 3 'Be Nice, Yule Be Right' tees, get 20% off
- Buy 4 or more 'Be Nice, Yule Be Right' tees, get 25% off
Shop Banabae in time for Christmas:


